/
Adding a Custom Page
ARI Responsive Websites
Adding a Custom Page
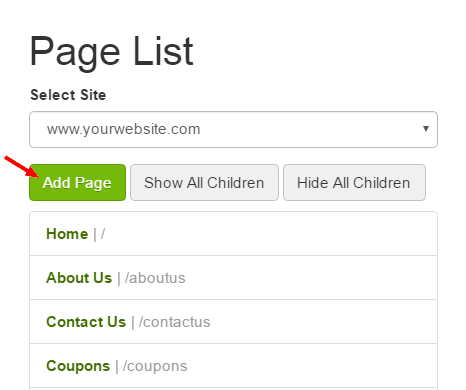
This guide demonstrates the process for adding a custom page your your site.
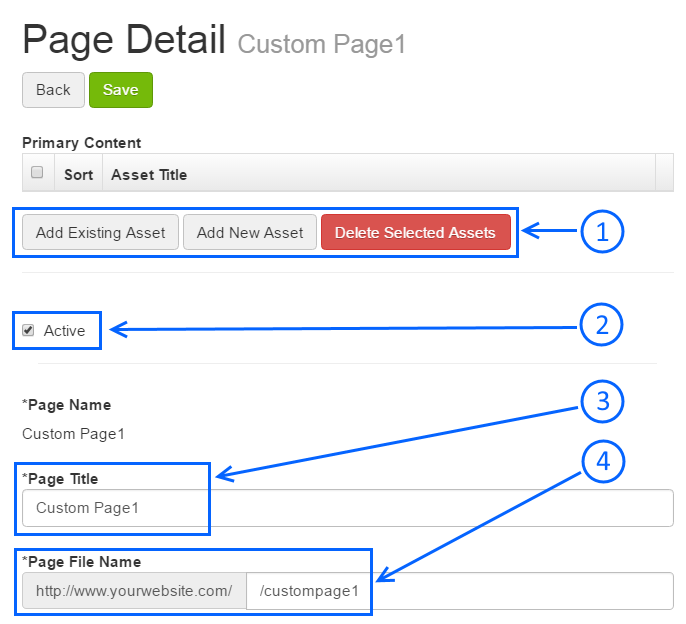
When you first create a new page, the page is given a default title of "Custom Page1" and a default page file name of "/custompage1", and subsequent page additions use the default name of Custom Page combined with the next number in sequence (Example: Custom Page2 & www.yourwebsite.com/custompage2). It's preferable that you enter a Page Title that reflects the content of your page, and not use the default page title.
Related Articles
, multiple selections available,
Related content
How do I add a custom page to my site?
How do I add a custom page to my site?
More like this
Page Management
Page Management
More like this
Assets
More like this
Add a New Landing Page
Add a New Landing Page
More like this
How do I update the page content on my site?
How do I update the page content on my site?
More like this
Add a New Listing Page with Content
Add a New Listing Page with Content
More like this

