ARI Responsive Websites
Inventory Manager
- Sam Carlson (Deactivated)
Input hard goods inventory and publish your units to your website and third party sales channels.
A. Add & Edit Inventory Units
B. Remove Units from Inventory
C. Import Units from a CSV file
A. Add & Edit Unit Inventory
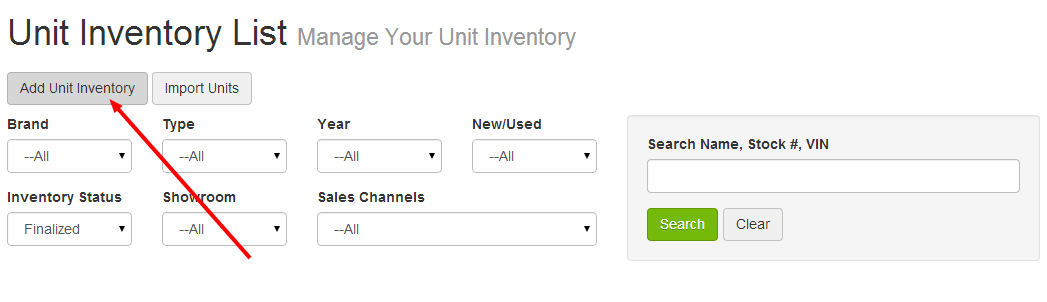
1. Go to Products > Inventory Manager
2. Click the Add Unit Inventory button
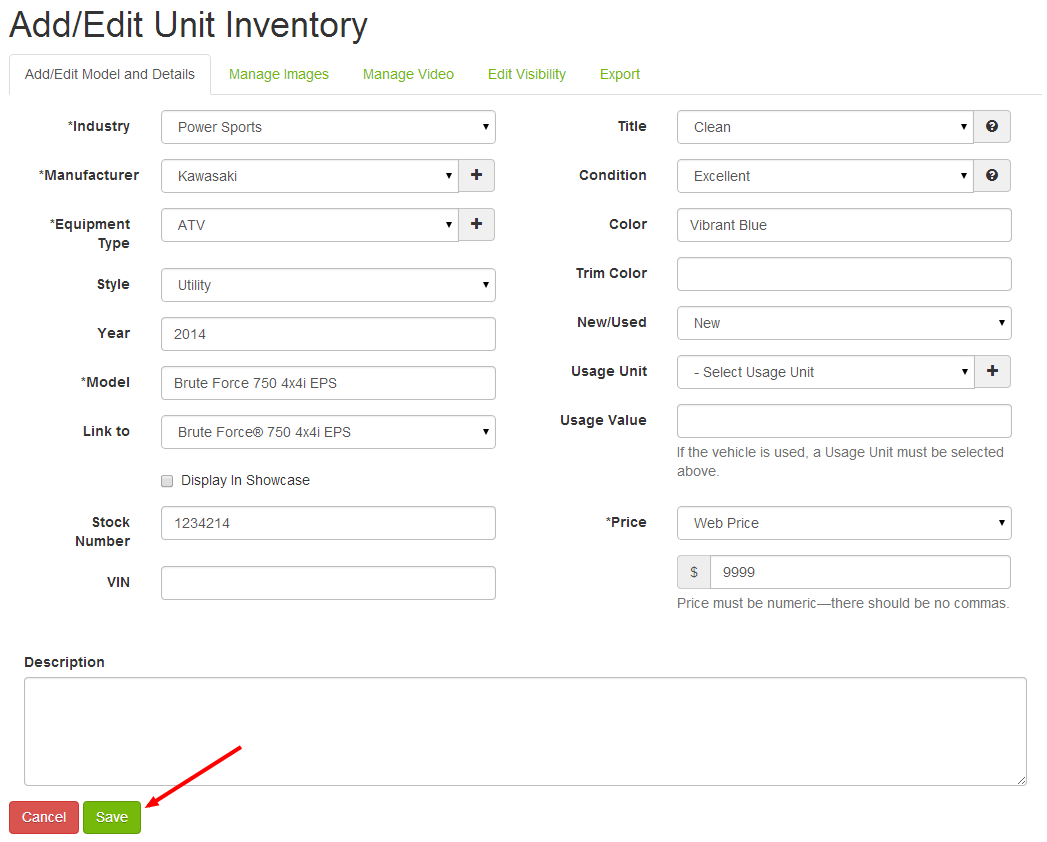
3. Using the fields presented, add the details regarding the model you're adding to inventory.
Required fields include:
- Industry
- Manufacturer
- Equipment Type
- Model
- Price
- Boat Length (applies to Boats and Pontoons only)
The following fields are not technically required, but it's highly recommended that this info is added as many sales channels require it.
- Style
- Year
- Stock Number
- VIN
- New/Used
For best results, it is recommended you fill in as much information as possible.
IMPORTANT: To automatically associate manufacturer descriptions and images to units as you entered them, input a year and select the appropriate model from the Link to... field. When you're finished adding details, click Save.
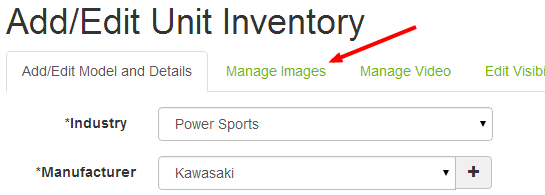
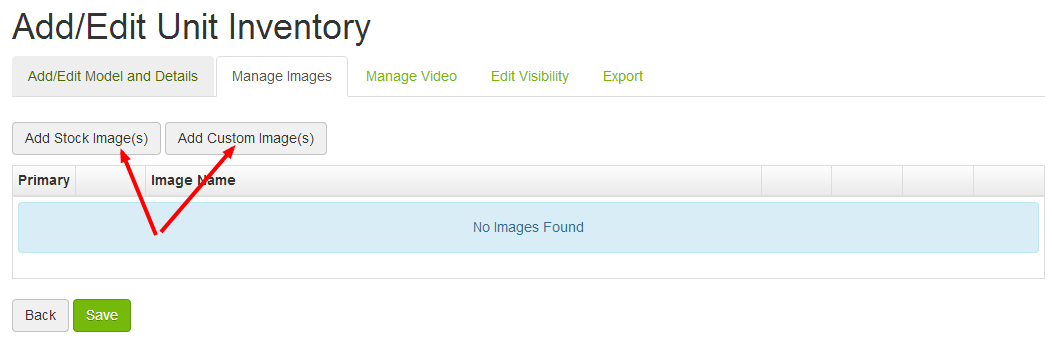
4. Click the Manage Images tab to add images to your inventory listing.
Use the Add Stock Images button to select manufacturer photos (if available), or use the Add Custom Image(s) button to select images from your computer.
When you have finished adding images, click Save.

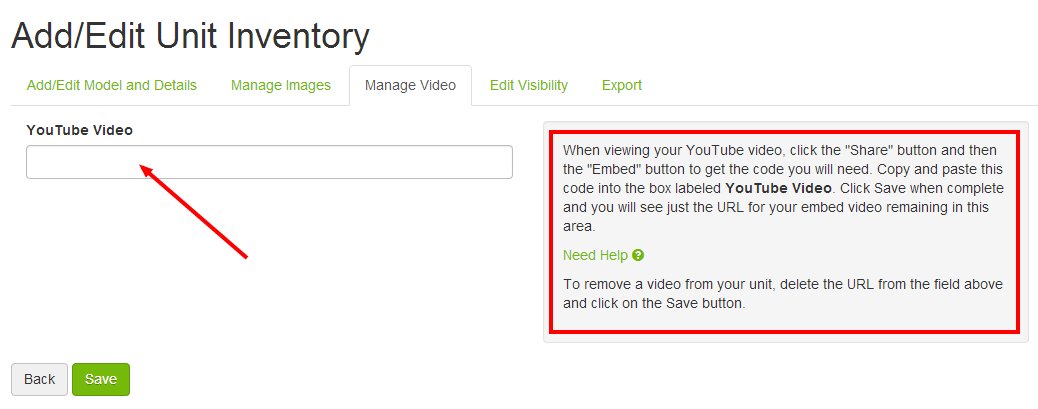
5. Click the Manage Video tab to add a YouTube video URL to your inventory listing. Instructions for this step are included on the page.
When you've finished adding a YouTube video URL, click Save.
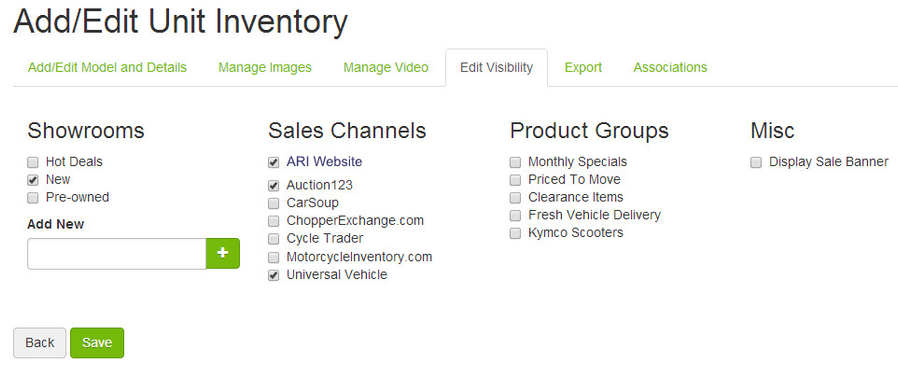
6. Click on the Edit Visibility tab to manage the syndication of your inventory listing.
When you have finished editing visibility, click Save. If you have no further edits to make to this unit listing, click Back to return to the Unit Inventory List screen.
When you have finished adding units, click Publish Changes
B. Removing Units from Inventory
1. Go to Products > Inventory Manager
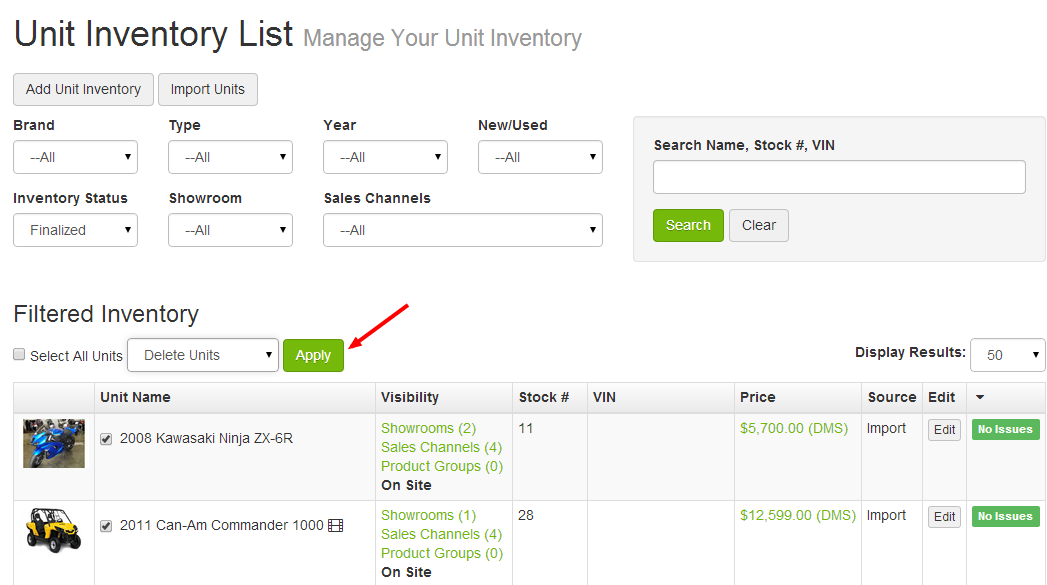
2. Using the filters at the top of the Unit Inventory List screen, locate the listing for the unit you wish to delete.
3. Select the unit(s) you wish to delete using the check boxes located between the unit image and unit name columns.
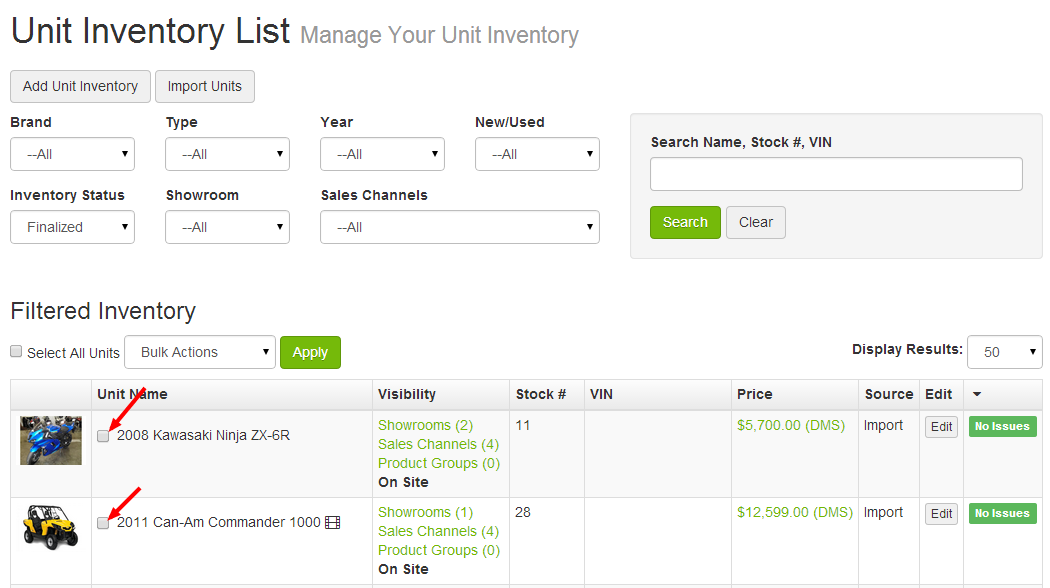
4. From the Bulk Actions dropdown, select Delete Units. A modal window will open and ask you to confirm the deletion. Click OK.
5. When you have finished deleting units, click Publish Changes