How do I edit my navigation?
The guide below describes the process needed to change the primary navigation on your website.
Step-by-Step Guide
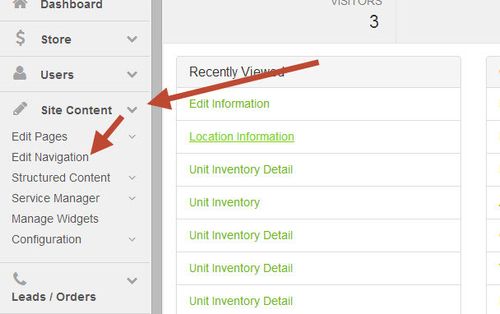
- On the Command Center Dashboard, choose Site Content > Edit Navigation on left navigation.
- To update the primary navigation, choose the desired site by selecting the corresponding URL from the dropdown menu.
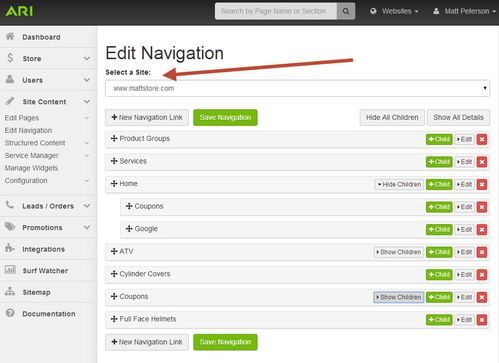
- Click the New Navigation Link button to create a new primary navigation link, click on a +Child button to create a navigation link underneath the website primary navigation, or click on the Edit button to edit a current navigation link.
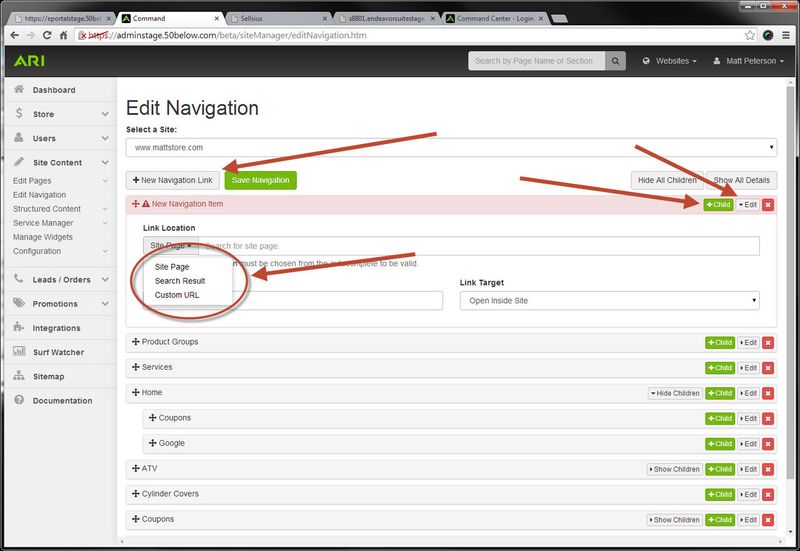
- Once a navigation addition method has been selected, a menu will appear that will ask you to create a Link Location, Link Name, and Link Target.
- The Link Location is the specific URL destination. The link location dropdown provides a choice of selecting a Site Page, a Search Result, or a Custom URL.
- Using the Site Page will allow you to create a link to any static content page on your website, such as the Home, About Us, or Contact Us page.
- The Search Results page will allow the user to select a keyword search result as a navigation link.
- To add any location, select the Custom URL link and enter the full URL to the destination link location.
- Note: Remember to include "http://" to the front of the URL string, otherwise the custom navigation link will not work properly.
- The Link Name determines how the link will display on your website. If the user wishes to have the link to appear as "Home," then one would type "Home" in the Link Name field.
- The Link Target gives a choice to open the link in the same web page or open in a new page.
- The Link Location is the specific URL destination. The link location dropdown provides a choice of selecting a Site Page, a Search Result, or a Custom URL.
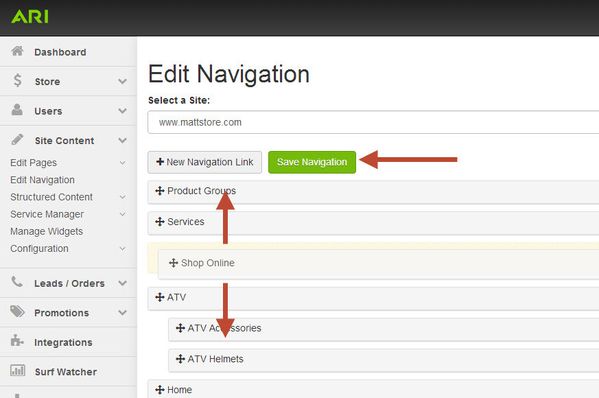
- Once the navigation item has been added or updated, it can be sorted to the desired location by clicking and dragging to the desired parent or child location.
- Click the Save Navigation button.
- Finally, publish the changes to make sure they appear on the website.
Related Articles