How do I configure my Request Service form?
If you offer services and promote them on your website, the Request Service form (www.your-domain.com/request-service.htm) can be invaluable for capturing service appointment requests from your customers.
Adding and Configuring the Request Service Form
Starting from the Command Center Dashboard (a.k.a. Home page), click on and expand the Site Content section, then click Configuration > Location Information.
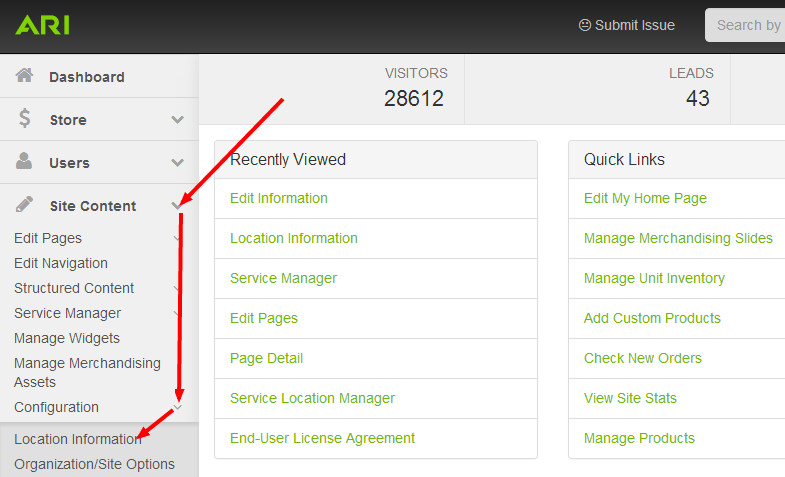
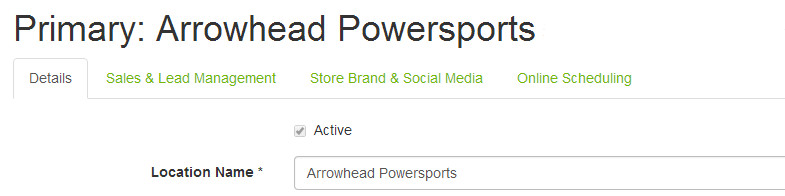
- If you have a single store location, you will be brought directly to your store information page (labeled Primary: Your Store Name). Skip Step 3 and proceed to Step 4.
- If you have a multiple locations, you will be brought to the Locations page. Choose the location that you wish to configure and click Edit.
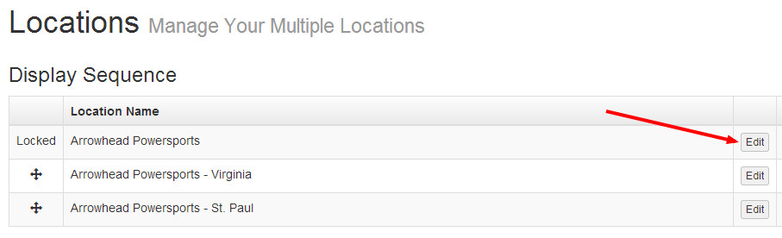
This will bring you to the store information page for that location.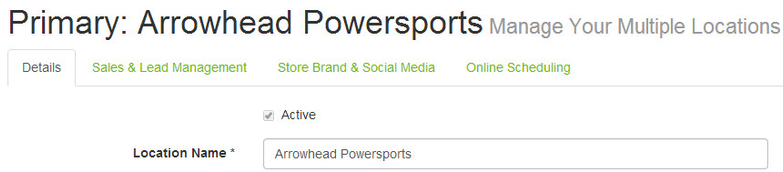
- Click Sales & Lead Management, then scroll down the page to Request Service Form. The following settings are available:
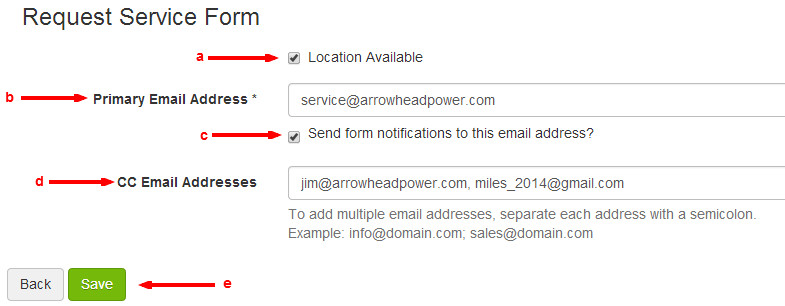
- Location Available: Select this check box to enable online service requests.
- Primary Email Address: This is a required field. Enter the applicable email address.
- Send form notifications to this email address?: If you wish to receive an email notification whenever a customer submits a service request for this location, select this check box.
- CC Email Addresses: If you wish to have email notifications sent to additional recipients within your company, enter their email addresses here. If you enter more than one, separate each address with a semicolon.
- You may click Save to apply these settings, or you may wait until you've completed the next steps.
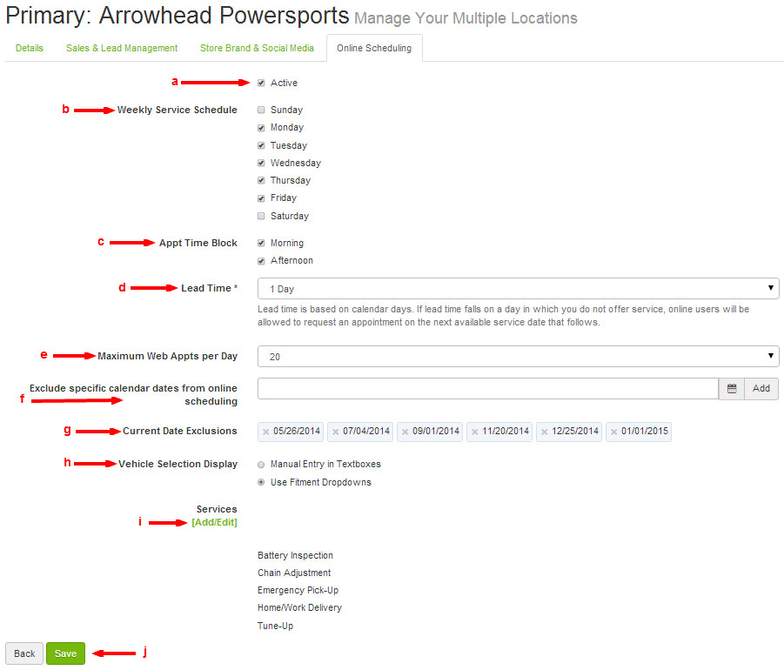
- Navigate to the top of the same page and select Online Scheduling. The following settings are available:
- Active: To enable the location for the Request Service form, check this box.
- Weekly Service Schedule: Choose the days of the week that you wish to allow online service requests to be scheduled.
- Appt Time Block: Choose the appointment time blocks that will display as options for users on the form (Morning and/or Afternoon)
- Lead Time: Select the number of days of lead time that your store will requires for online requests. Lead time is based on calendar days. If lead time falls on a day in which you do not offer service, online users will be allowed to request an appointment on the next available service date that follows.
- Maximum Web Appts per Day: Choose the maximum number of service requests that can be submitted for a single calendar date. When the maximum is hit, users must choose an alternate date.
- Exclude specific calendar dates...: If your business is closed for any particular holiday or other calendar date, you can exclude that date from being chosen by website customers.
- Current Date Exclusions: This section lists the dates that have been excluded from online service requests.
- Vehicle Selection Display: If you have vehicle fitment on your website, you can choose to have the form fields use fitment information or you can allow users to enter their information as free text.
- Services (Add/Edit): This section shows the services that are enabled for this store location. You may add, remove, or otherwise edit your service by clicking Add/Edit. Please note that this will cause you to leave the store information page and take you to the Service Manager.
- Save: Once you've configured your settings to your satisfaction, click Save.
- If you have to configure settings for multiple stores, return to the Locations page and repeat steps 3 through 5 for each additional location.
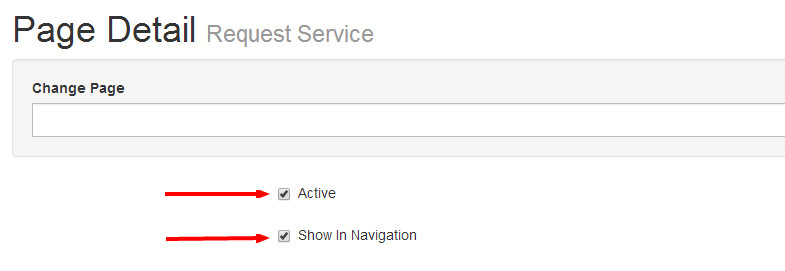
- If the Request Service form has not been activated on your website and/or within your navigation menu, navigate to Site Content > Edit Pages > Edit Site Pages. In the alphabetical list of pages, scroll down and click Request Service.
- Within the Page Detail editor for the Request Service form, select Active to enable the form on your website and select Show in Navigation to add the form to your primary navigation menu. Select Save.
- Navigate to Site Content > Edit Navigation. If Request Service has already been added to your navigation menu, you may choose to re-name or re-sequence it. If it hasn't been added and you choose to do so, select Add Navigation Item.
- In the modal window that displays, locate Request Service in the Page dropdown menu. Chose your preferences for how the page should display, then click Save.
- You'll be returned to the Edit Navigation page, and Request Service will be in the last position within the navigation items table. If you wish to change the order in which your navigation items display, you can move items up or down the list by clicking and dragging items into your preferred position.
- Click Save.
Related Articles