How do I add or remove major units in inventory on my website?
Step-by-Step Guide
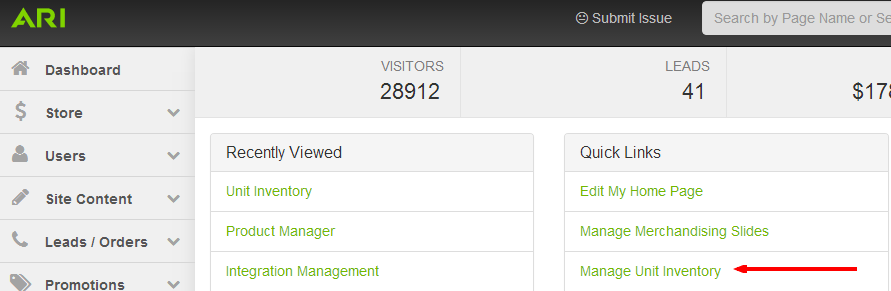
- To start, select Manage Unit Inventory from the Quick Links section on the Command Center Dashboard. Alternatively, you could search for "Inventory Manager" in the Command Center search bar and choose the "Inventory Manager | Admin" suggestion.
- From the Unit Inventory List screen, proceed to remove units using the guide below or skip further down to add units to inventory.
To Remove a Unit from Inventory:
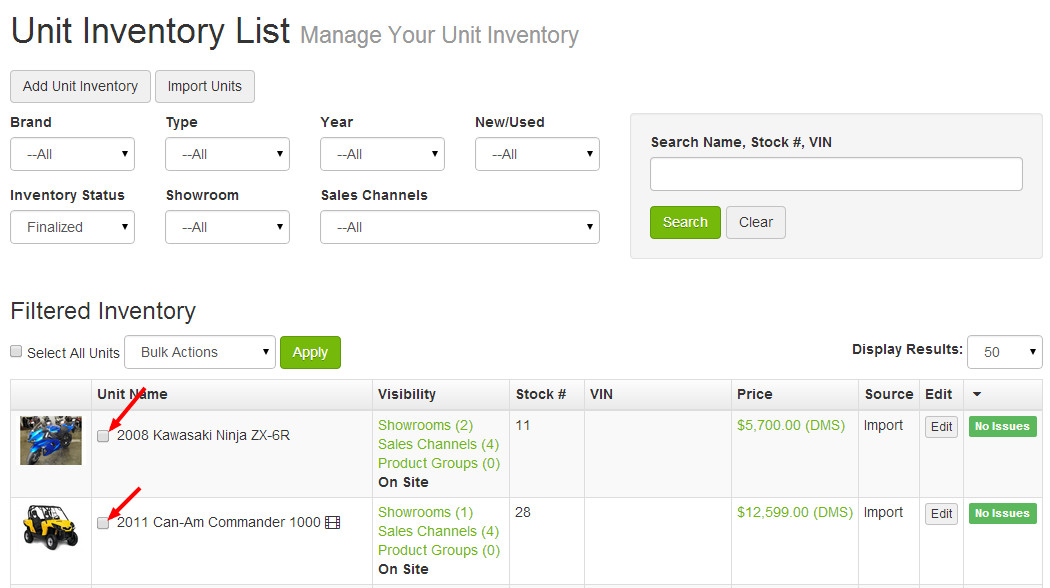
- Using the facets at the top of the Unit Inventory List screen, locate the listing for the unit you wish to delete.
- Select the unit(s) you wish to delete using the check boxes located between the unit image and unit name columns.
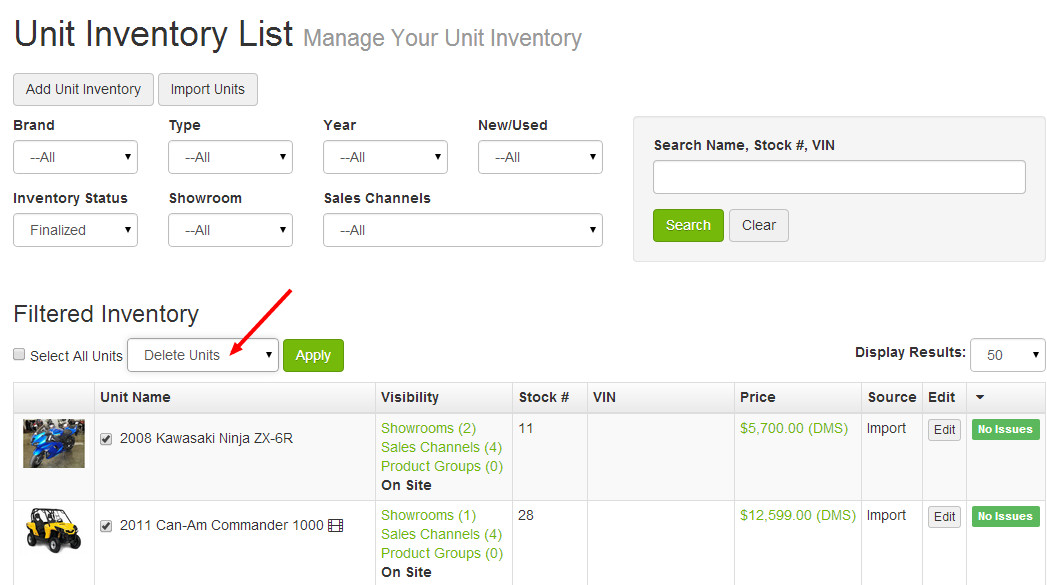
- From the Bulk Actions dropdown, select Delete Units.
- Click Apply.
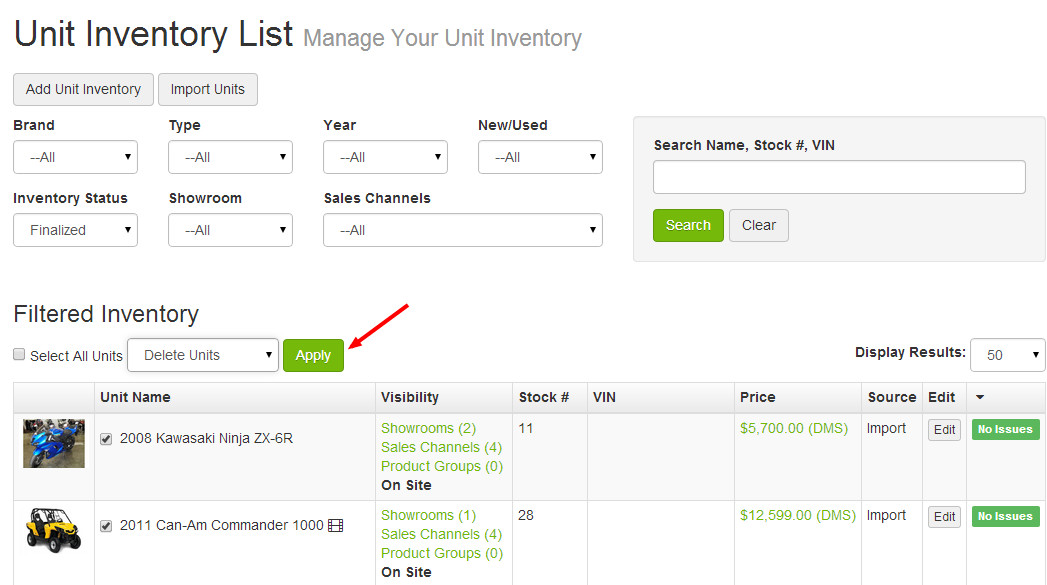
- Confirm that you wish to delete selected units by clicking OK.
- When you have finished deleting units, click Publish Changes and Publish Keywords from the Website dropdown menu in the upper-right corner of the Command Center.
To Add a Unit to Inventory:
- Click the Add Unit Inventory button.

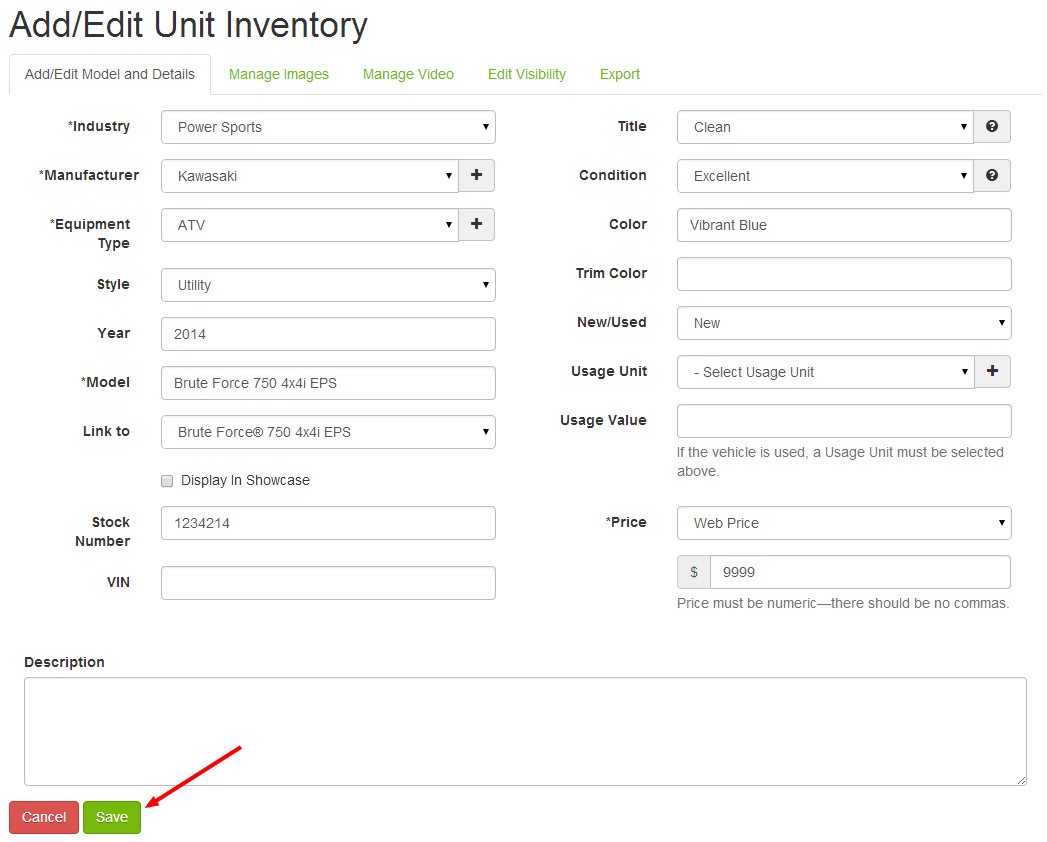
- Using the fields presented, add the details regarding the model you're adding to inventory. Required fields include Industry, Manufacturer, Equipment Type, Model, and Price. For best results, it is recommended you fill in as much information as possible. If you'd like to attach manufacturer descriptions and images to the unit automatically, you'll need to input a year and select the appropriate model from the Link to field. When you're finished adding details, click Save.
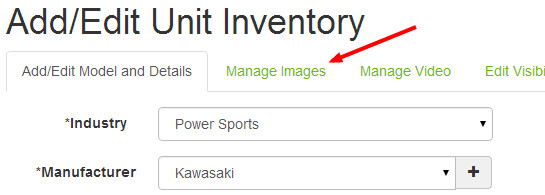
- Click the Manage Images tab to add images to your inventory listing. If you do not wish to add images, skip to Step 6 below.
- Use the Add Stock Images button to select manufacturer photos (if available), or use the Add Custom Image(s) button to select images from your computer.
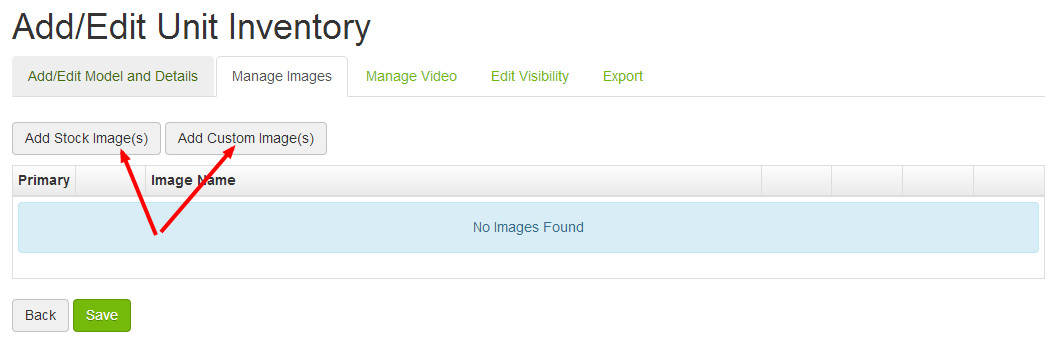
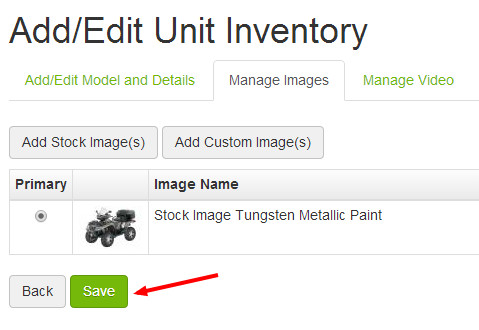
- When you have finished adding images, click Save.
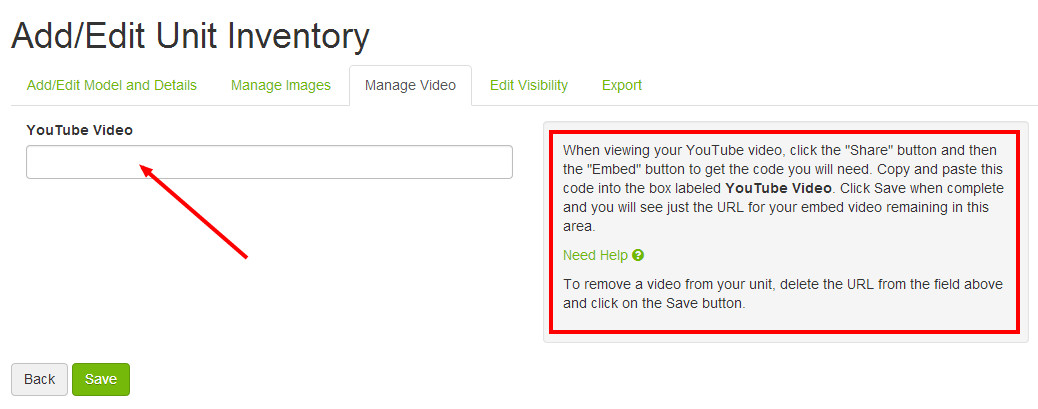
- Click the Manage Video tab to add a YouTube video URL to your inventory listing. Instructions for this step are included on the page. If you do not wish to add a video, skip to Step 8 below.
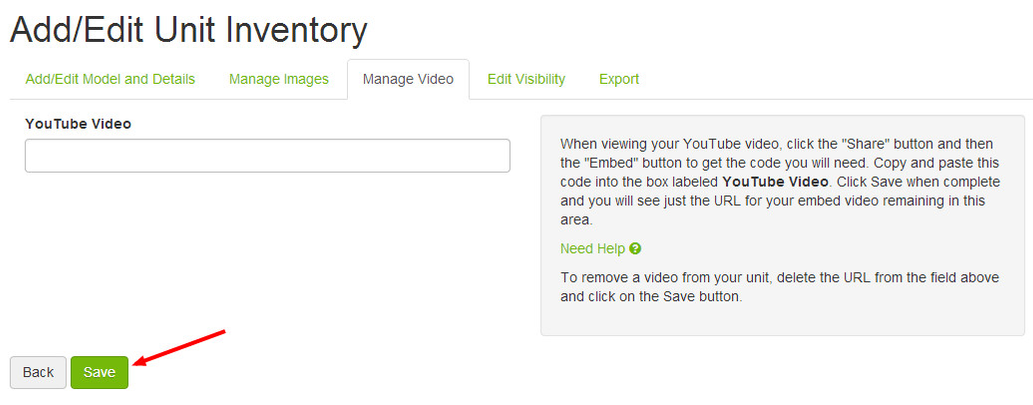
- When you've finished adding a YouTube video URL, click Save.
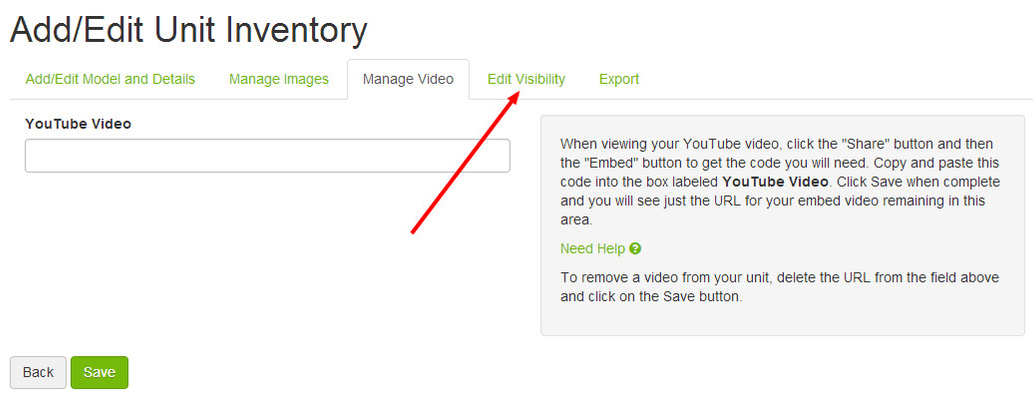
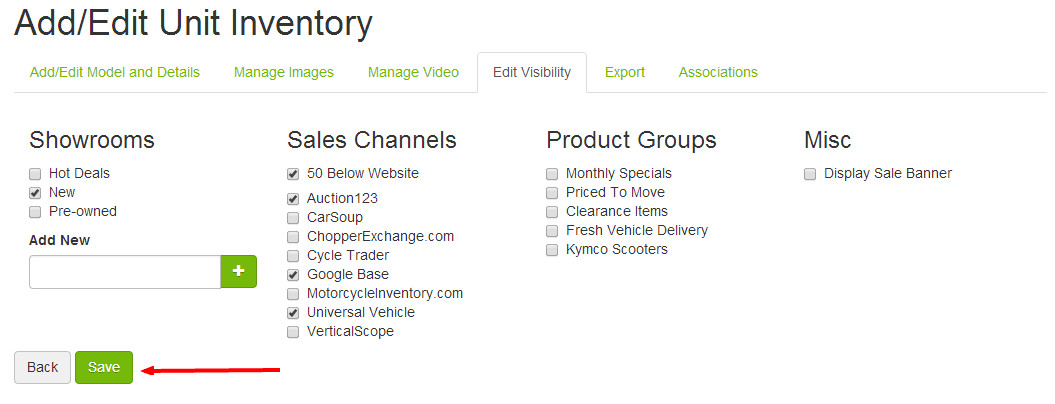
- Click on the Edit Visibility tab to manage the syndication of your inventory listing.
- From this screen, you can control the syndication of your inventory listing. You can assign it to showrooms, push it to sales channels, add it to a product group, or add a sale banner. The system will default to include your listing on all available sales channels.
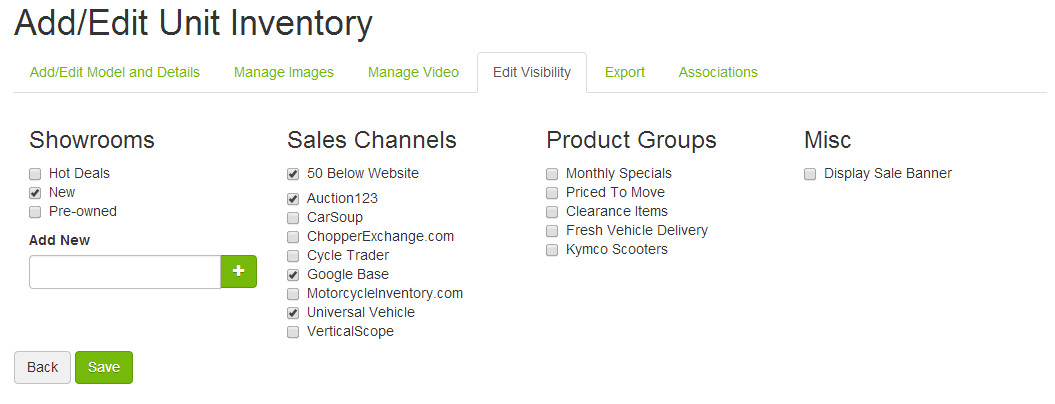
- When you have finished editing visibility, click Save.
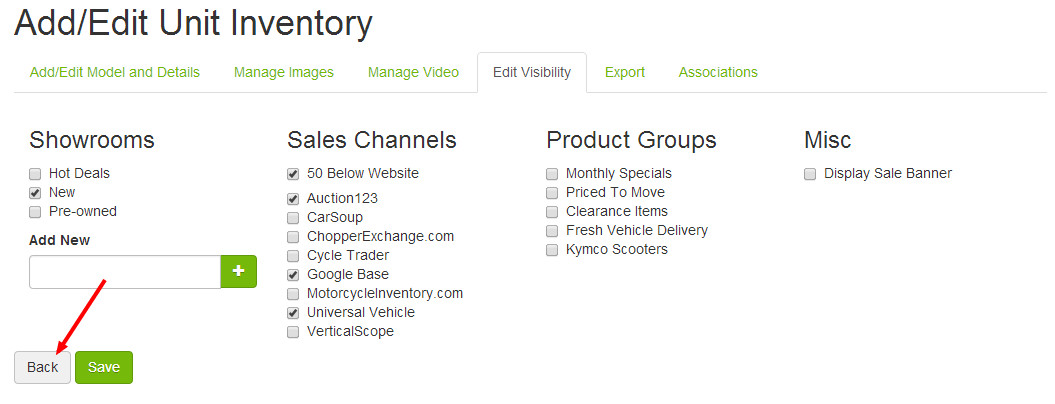
- If you have no further edits to make to this unit listing, click Back to return to the Unit Inventory List screen.
- When you have finished adding units, click Publish Changes and Publish Keywords from the Website dropdown menu in the upper-right corner of the Command Center.
Need more help?
Watch our tutorial video, How to Use Inventory Manager.
Related Articles