How do I use the image uploader?
When working in the Command Center, follow these steps when uploading images for use on your site.
Step-by-Step Guide
After navigating to the area that you want to work with your photos in (page content in assets, unit inventory images, galleries, etc.), follow these steps:
- Launch the image uploader
- From an asset, click on the Media Browser button
- From a unit, click on the Add Custom Image(s) button
- You are automatically shown the Browse tab which shows all files you currently have uploaded.
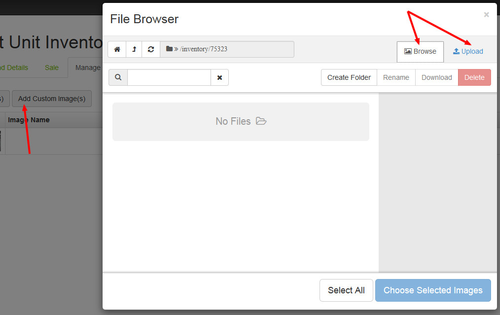
- To upload an image
- Click on the Upload tab
- Choose the Select Files button
- Choose the image you would like to upload. Choose multiple images at once by holding Ctrl on your keyboard.
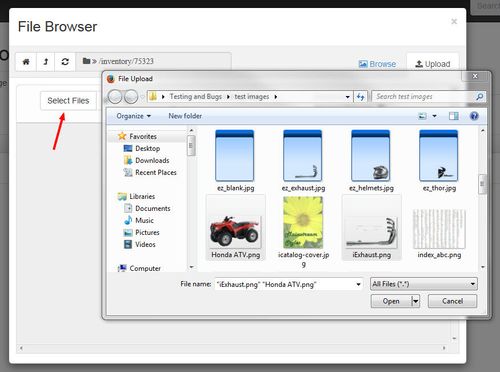
- Click the Open button
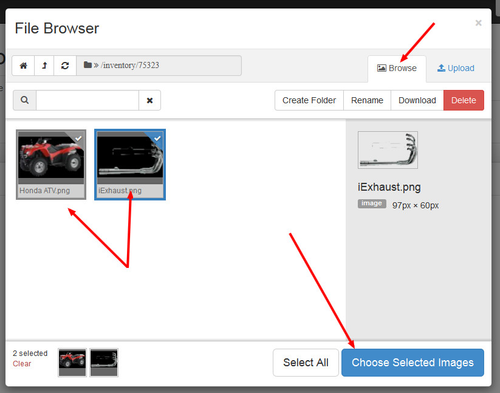
- Once the files have uploaded, you will see the green bars next to them say 100% and be green all the way across the bar
- To insert an image, from the Browse tab
- For an asset, click on the image you wish to insert and click the Insert Selected button
- For a unit, click on the image(s) you wish to insert and click the Choose Selected Images button
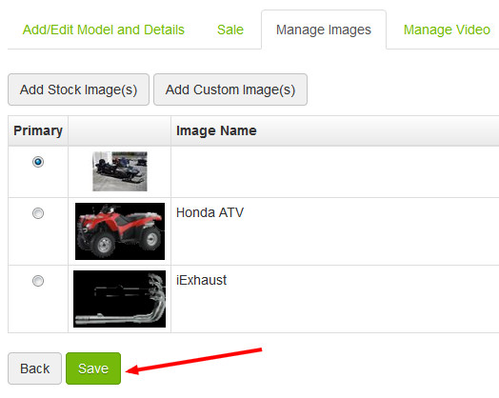
- Your image(s) will now be inserted into the area you are working with. Remember to click Save when you are done.
Related Articles