How do I assign a location to my units in inventory?
You will need to have configured each location you wish to assign inventory to as an Inventory Location before you can complete these steps. Please reference the Configuring Inventory Locations guide for how to complete this step.
Assigning Existing Inventory to a Location
The default location on all inventory is set to your Primary retail location. To assign a unit to a different location, you will need to edit each unit inside the Unit Inventory Manager.
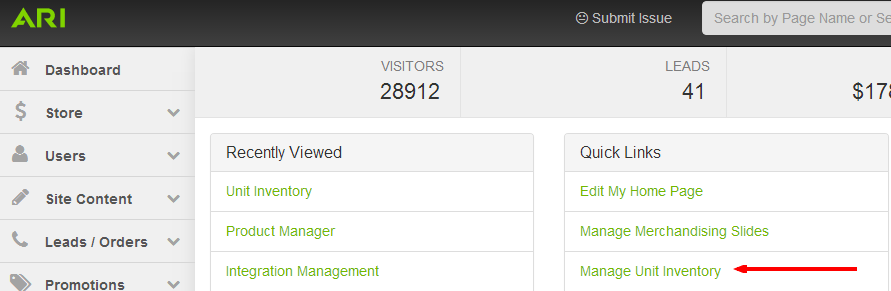
- To start, select Manage Unit Inventory from the Quick Links section on the Command Center Dashboard. Alternatively, you could search for "Inventory Manager" in the Command Center search bar and choose the "Inventory Manager | Admin" suggestion.
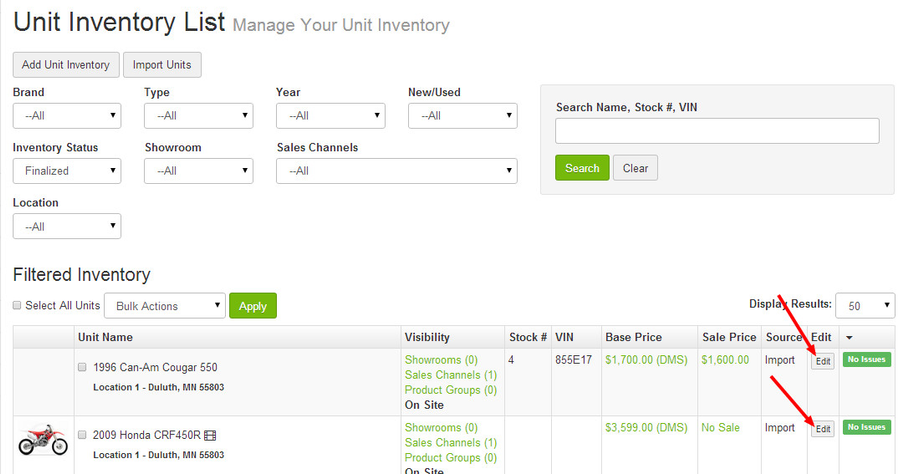
- Using the facets at the top of the Unit Inventory List screen, locate the listing for the unit you wish to assign to a location.
- Select the unit you wish to edit by clicking the Edit button.
- On the Add/Edit Unit Inventory screen, on the first tab (Add/Edit Model and Details), you'll find a new field called Location just above the Description box. Select the location you wish to assign this unit to from the drop-down menu.
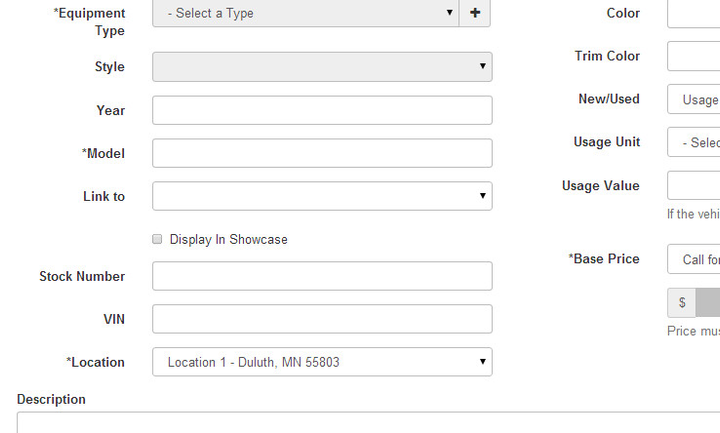
Note: If the desired location is not in the menu, the location needs to be configured as an inventory location. Please reference the Configuring Inventory Locations guide. - Click Save.
- When you have finished assigning locations to your units, click Publish Changes and Publish Keywords from the Website dropdown menu in the upper-right corner of the Command Center.
Tip: Locations each have their own lead recipient settings. Make sure your lead recipients are properly configured for each location by following the Lead Recipient Configuration guide for each of your locations.
New Inventory
For new or unfinalized inventory, Location is now a required field for adding or finalizing. During the add or finalization process, the unit will be defaulted to your Primary retail location, or you can adjust that field as needed. See the image below for reference.

Need more help?
Watch our tutorial video, How to Use Inventory Manager.
Related Articles