ARI Responsive Websites
Custom Products (Ecommerce)
In order to add custom Ecommerce products to your website, you must create a catalog, creating one or more products, then publish your new custom catalog to get it to display on your website.
A. Adding Custom Ecommerce Catalogs
A. Adding Custom Ecommerce Catalogs
1. Go to Products > Custom Products
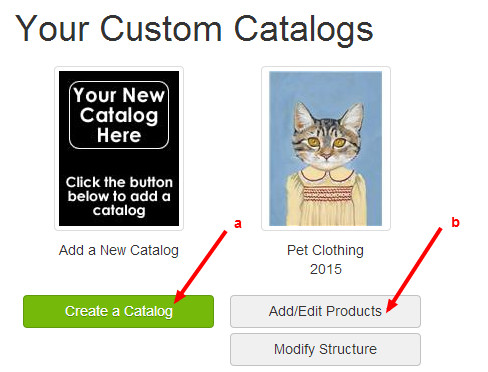
2. The following page (Your Custom Catalogs) has options to either add a new catalog or to edit an existing one.
a. To add a new catalog, select Create a Catalog and proceed to Step 3 of these instructions.
b. If you merely wish to add a new product to an existing catalog, proceed to the help article Adding Custom Ecommerce Products
3. Enter the required information for your new custom catalog, as follows:
a. Year (Required): Select the appropriate catalog year from the dropdown list.
b. English Catalog Title (Required): Enter a name for the catalog. This is the catalog name that will display on your website
c. Industry (Required): Select the applicable industry
d. Company Name (Required): Click into this dropdown list and do one of the following:
- If the desired product manufacturer is represented in the alphabetical dropdown list, select it.
- If the product manufacturer is not represented in the dropdown list, select + Add a New One (this choice is at the top of the dropdown list) and enter the appropriate information into the New Company Name field.
e. Industry Shopping Types (Required): If there is an existing check box menu of types and one or more of them applies to the catalog you are creating, select the applicable check box(es). Otherwise, enter one or more new types using the Add New Type function.
Select Save and Continue. You will be directed to the Shopping Catalog Maintenance page.

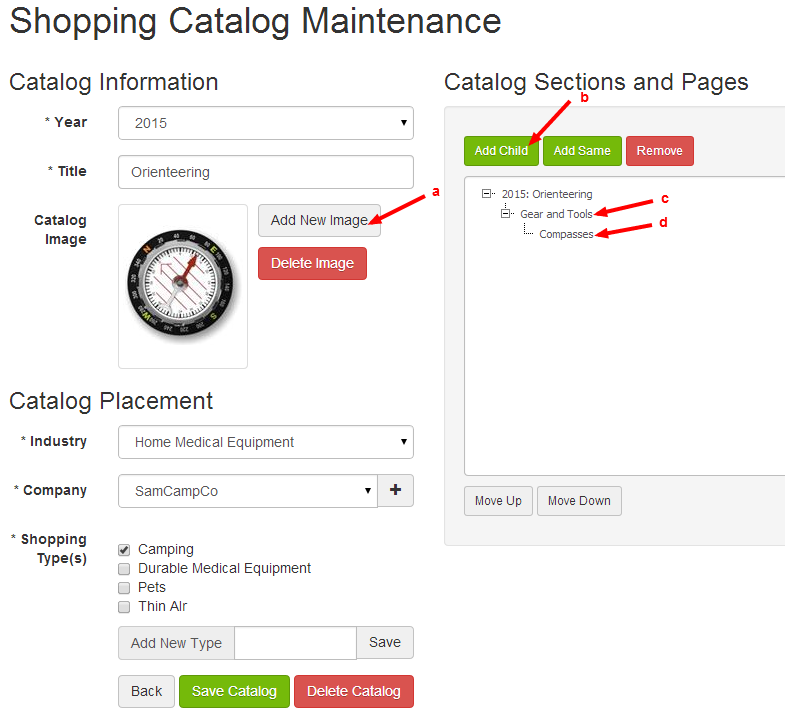
4. Shopping Catalog Maintenance Page
a. Add New Image (Optional, but Recommended): Select to add an image that represents your custom catalog. On your website this will display as the catalog "cover."
b. Create a Catalog Section: In order to add any products to your custom catalog, you must first create at least one catalog section (as well as one custom page as described in step 4d below). A catalog section serves as a division of your catalog. For example, if you sell apparel, you may choose to create catalog sections for "Shirts," "Hats," and "Boots."
- To add a catalog section, proceed to Catalog Sections and Pages on the upper right side of the page.
- Click the catalog title to highlight it. The catalog title is 2015: Orienteering in the image example.
- Select Add Child.
c. Create a Catalog Parent Page: A section labeled New Node will display as a tier beneath your catalog. To rename this section, click on New Node and type the name that applies. The New Node section has been renamed "Gear and Tools" in the image example below.
d. Create a Catalog Child Page: Click to highlight the catalog section that you just created, and again click Add New. A tier labeled New Node will again display, except it will be directly beneath the catalog section. To rename, click on the New Node page and type the name that applies. The New Node page has been renamed "Compasses" in the image example below.
If you have additional catalog sections and pages to add, repeat Steps 4b through 4d as necessary. When you are done, select Save Catalog, then select Back.
5. You will be returned to Your Custom Catalogs, and the new catalog you created will be available for entering products.
For instructions on adding customs products to your catalog, proceed to next section below (Adding Custom Ecommerce Products)
B. Adding Custom Ecommerce Products
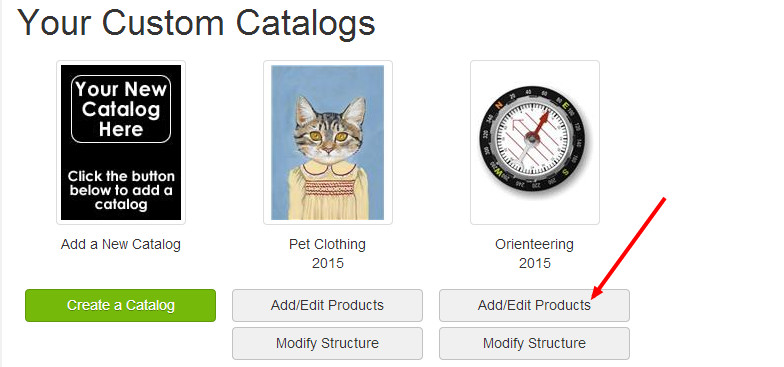
1. Go to Products > Custom Products and choose the custom catalog for which you wish to add products.
2. Select Add/Edit Products.to be taken to the Catalogs Products page.

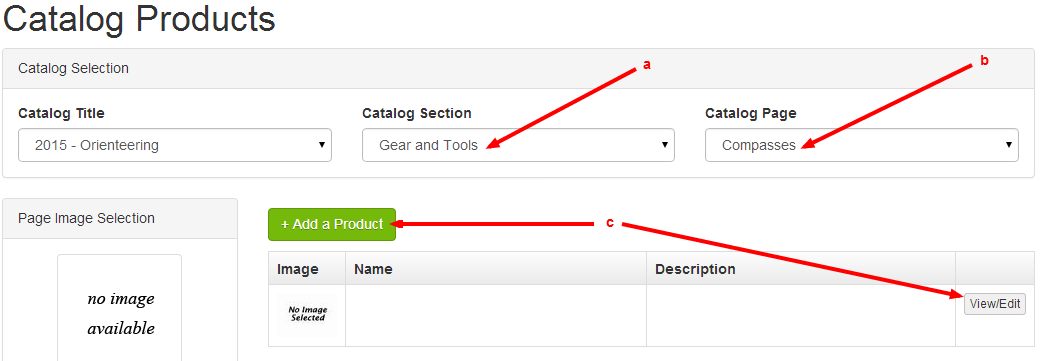
3. On the Catalog Products page, proceed as follows:
a. Select the Catalog Section dropdown and choose the option that applies.
b. Select the Catalog Page dropdown and choose the option that applies.
c. A product table will display. Select View/Edit. If the table is already populated with a product or products, Select + Add a Product.
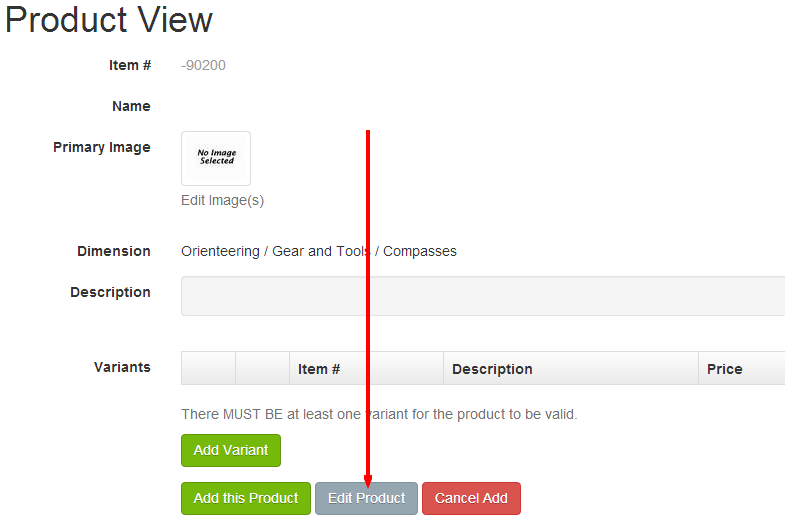
4. On the Product View page, select Edit Product.
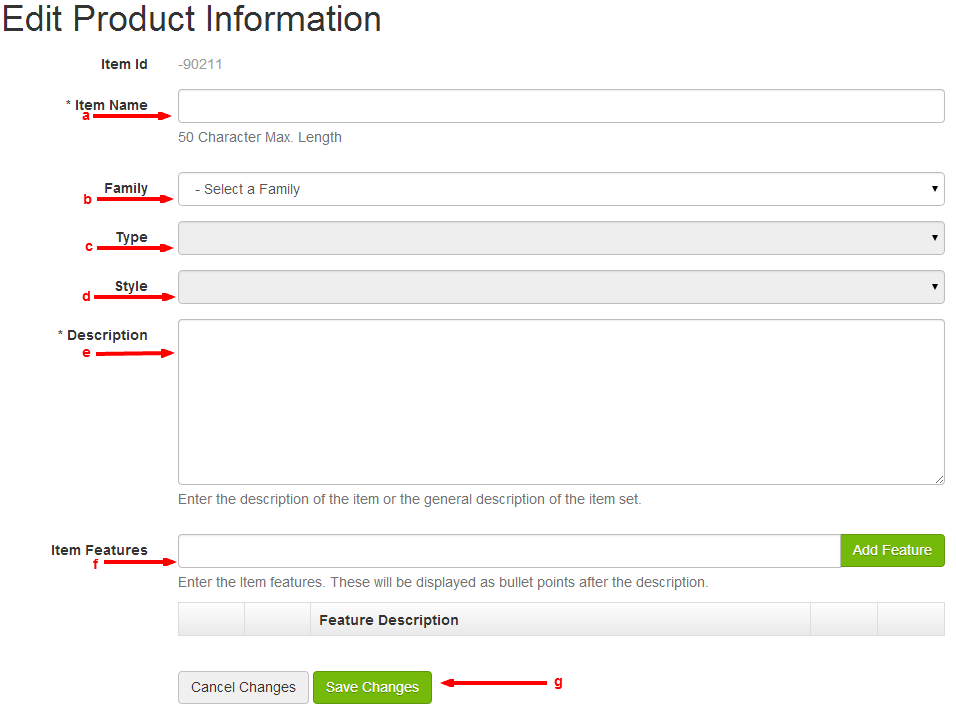
5. Enter the following data for your custom product:
a. Item Name (Required): This can be no more than 50 characters.
b. Family: This is a general category list, from which you can choose the most applicable selection for the product you are adding.
c. Type: This dropdown menu is populated with subcategory choices, only if you've made a Family selection in step 5b.
d. Style: This dropdown menu is populated with sub-subcategory choices, only if you've made a Type selection step 5c.
e. Description (Required): Enter the description of the product or the general description of the product set if there are variants.
f. Item Features: Enter particular features—selling points—that will display to your customers as product feature bullet points following your description text. As you finish typing each item, click the Add Feature button. Your newly-added feature will be displayed in the Feature Description table. You may add unlimited bullet-point features by clicking the Add Feature button after each entry. You may also use the arrows to modify the sequence in which the bullet points will appear on your website product pages.
g. Once you're finished entering your product information, select Save Changes.
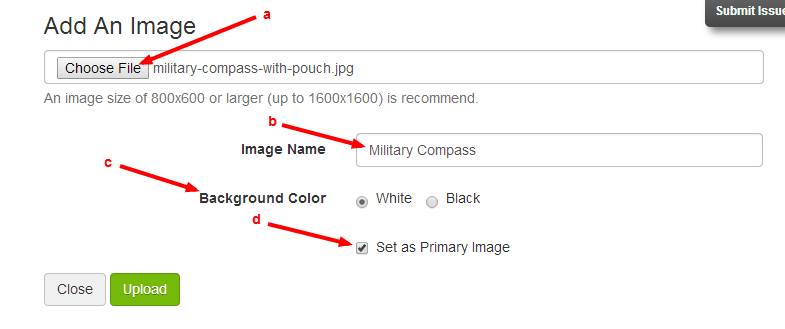
6. You will be returned to the Product View page, where you may upload one or more product images by selecting Edit Image(s). Doing so will open a modal window where the following configurations can be made:
a. Choose File: Click to browse your computer for the image file that you will be uploading.
b. Image Name: The text entered here will display as a caption on your image, when users hover over it on the website product detail page.
c. Background Color: If the image dimensions are not symmetrical, a background color will be added as padding to make the image appear as square on your website. Choose the option that you think looks best for any given image that you upload.
d. Set as Primary: If you upload one or more images, you are required to designate a single image as "primary." The primary image will be the first image to display on the website product page, as well as on the search results page, product groups, and other website locations where the product may display.
Select Upload and repeat steps 6a through 6c for each product image that you wish to add.

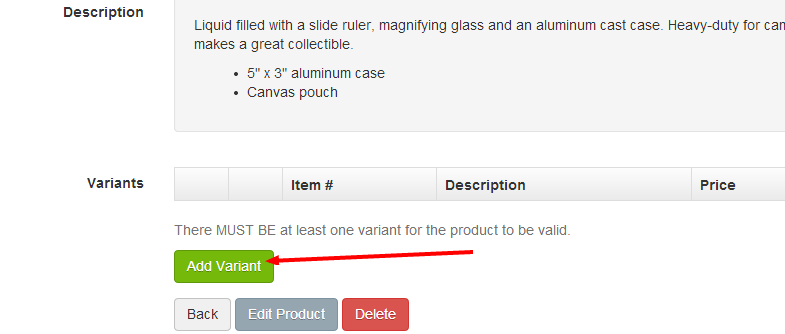
7. Further down the Product View page, there is a button labeled Add Variant. Variants are the available options for a given product listing. For example, T-shirts are typically available in different sizes and colors. "Size" and "Color" would be considered variants.
You may enter an unlimited number of variants, but you are required to enter a minimum of one.
Select Add Variant.
8. The Add/Edit Product Item modal window will display. Enter the following information for each variant:
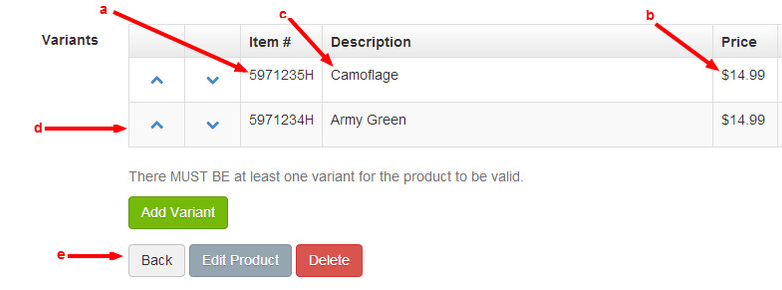
a. Part # (Required): Also labeled as "Item #" in the variant table. This must be a unique value.
b. MSRP: If you are offering this product for sale, or if you simply wish to display the MSRP on your website, enter that value here.
c. Description (Required): Enter a description that will help customers identify the difference product variants.

d. Sequencing: If you want to change the order in which your product variants will display on the website product detail page, use the arrow buttons to re-order any given line item in the variant table.
e. Once you've finished adding variants, select Back to add additional products to your custom catalog if needed.
After you've added products, you will need to publish your catalog it to your website. Proceed to the help section Publishing Custom Catalogs/Products
C. Publishing Custom Catalogs/Products
1. Go to Store > Catalogs
2. Select your custom catalog, which will be displayed beneath the Bulk Selections section. Your catalog will be preceded with (Custom). Once selected, a check box menu for the catalog years will display. Choose the year or years that apply and select Save Changes.
3. Go to Publish Changes in the top right header menu and select.
