...
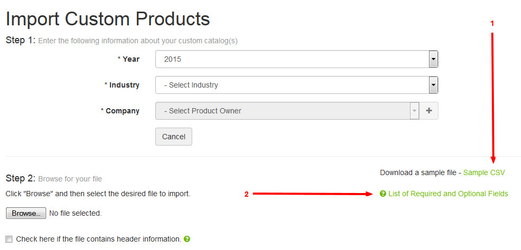
- Download the file template by clicking on the Sample CSV link
Review the list of required and optional fields

Required FieldsField Name Description Catalog Name of your catalog Category Name of your catalog section the product is in Subcategory Name of the subsection the product is in Product Name of your product Product Description Descriptive information about your product IsTaxable Should the item be taxed? Valid values are TRUE and FALSE Sku Part Number Item Description Description of this individual part number Price Price of this individual part number - Build out your CSV. You do not need to create the catalog before importing your CSV; the system will create the catalog if it does not already exist.
- You can create entirely new catalogs or include only the items that you wish to add to an already existing catalog with this upload.
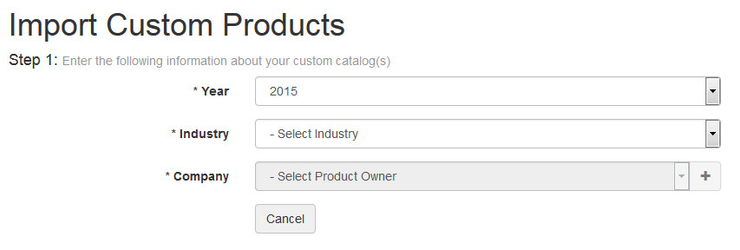
- Once your CSV is ready for upload, choose your catalog year, industry, and company in Step 1.
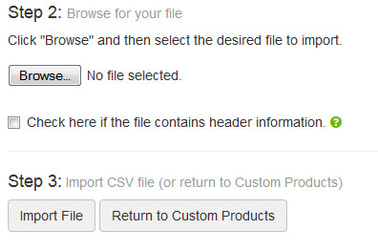
- In Step 2, browse your computer for your file and select it.
- If you file has header information, check the corresponding box.
- Click the Import File button in Step 3 to upload your CSV.
- To upload up to three (3) images per custom product....
- For each unit for which you are adding images, reference the image file name(s) in your CSV import (Columns F, G & H)
- Select the images that you will be importing and save them to a ZIP file. Make sure that all image are in the root folder of the ZIP file, and not within a subfolder. If images are within a subfolder, they will fail to import.
- Return to Step 1 and enter the catalog year, industry, and company that applies.
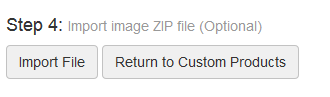
- At Step 2, browse to your image ZIP file and upload it.
- Skip Step 3 and go to Step 4. Click on the Import File button.
...