...
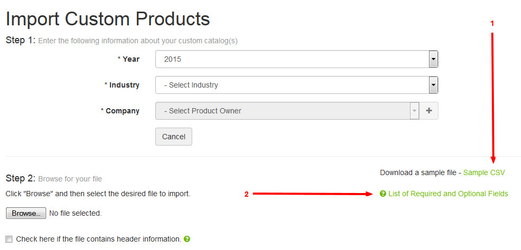
- Download the file template by clicking on the Sample CSV link
- Review the list of required and optional fields

- Build out your CSV. You do not need to create the catalog before importing your CSV; the system will create the catalog if it does not already exist.
- You can create entirely new catalogs or include only the items that you wish to add to an already existing catalog with this upload.
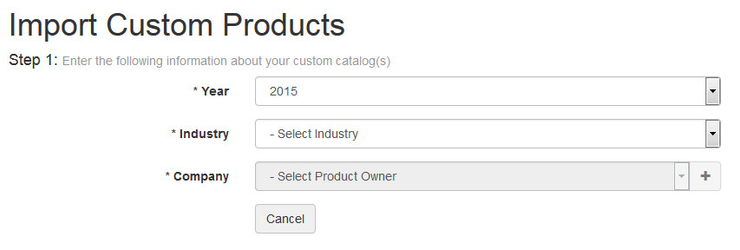
- Once your CSV is ready for upload, choose your catalog year, industry, and company in Step 1.
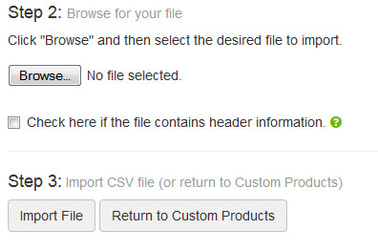
- In Step 2, browse your computer for your file and select it.
- If you file has header information, check the corresponding box.
- Click the Import File button in Step 3 to upload your CSV.
- To upload associated images to your catalog, repeat Step 1 and Step 2. Then click up to three (3) images per custom product....
- For each unit for which you are adding images, reference the image file name(s) in your CSV import (Columns F, G & H)
- Select the images that you will be importing and save them to a ZIP file. Make sure that all image are in the root folder of the ZIP file, and not within a subfolder. If images are within a subfolder, they will fail to import.
- Return to Step 1 and enter the catalog year, industry, and company that applies.
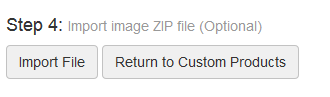
- At Step 2, browse to your image ZIP file and upload it.
- Skip Step 3 and go to Step 4. Click on the Import File button
- .
| Info |
|---|
| Your CSV must contain all of the columns that are in the sample, and they must be in the same order. Do not remove or reorder the columns. |
...