ARI Responsive Websites
Sales on Major Unit Inventory
You can apply sale prices to your major unit inventory by following the instructions below.
Add a Sale Price to an Inventory Unit (Method A)
A. Go to Products > Inventory Manager, and scroll down to Filtered Inventory.
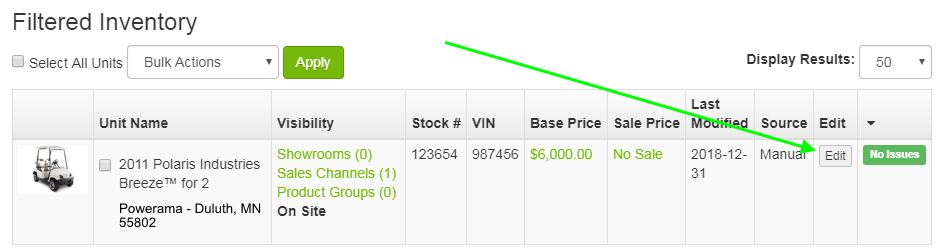
B. Navigate to the major unit that you wish to apply a sale price. Under Sale Price, click the link that says No Sale.

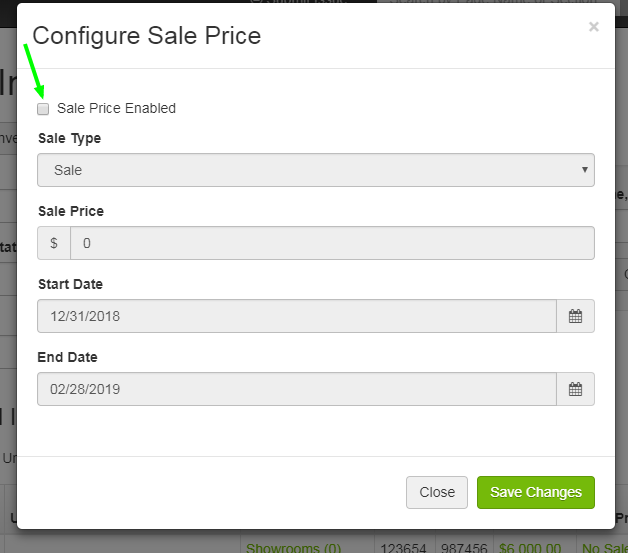
C. The Configure Sale Price modal window will open. Check the box for Sale Price Enabled.
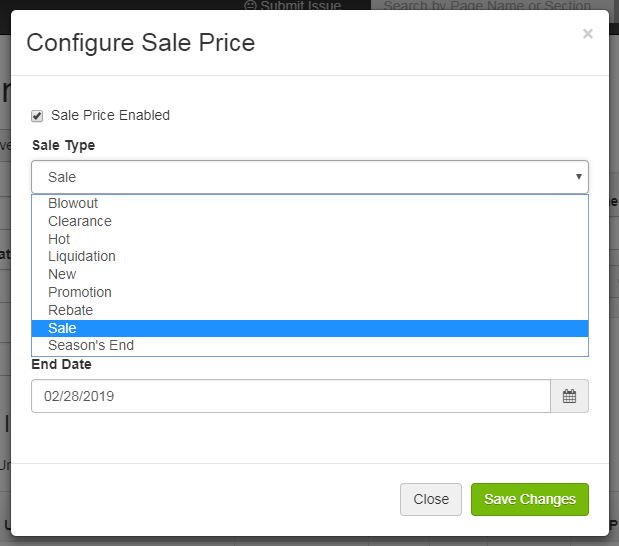
D. Choose a Sale Type. This will display on the storefront detail page for the major unit.
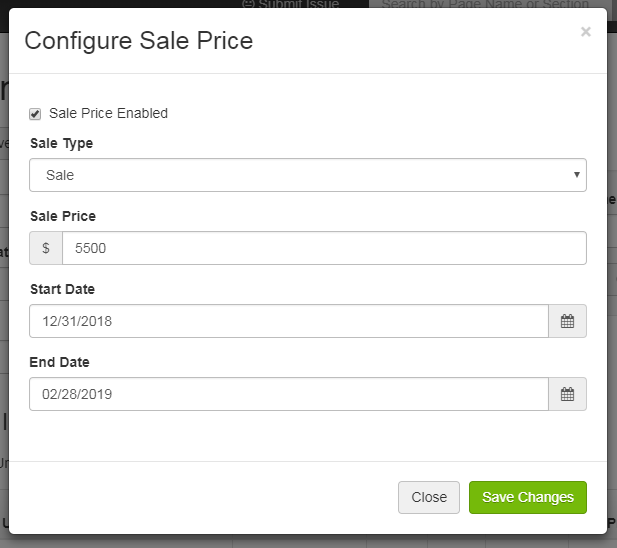
E. Enter the unit's sale price, then select a start date and an expiration date. Click Save Changes.
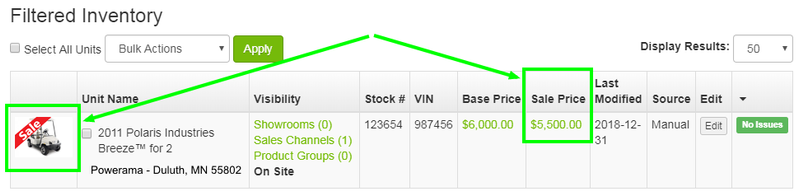
F. The sale price will be applied and will display in the Sale Price field for the unit. A sale banner will also be applied to the image thumbnail as well as the primary image on storefront. When you are finished putting major unit inventory items on sale, click Publish Changes.
Add a Sale Price to an Inventory Unit (Method B)
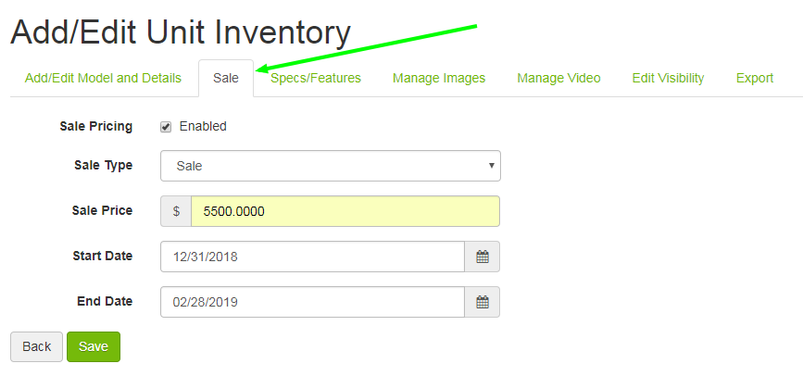
G. It's also possible to add a sale price to a major unit within that unit's editor. Go to Products > Inventory Manager, and scroll down to Filtered Inventory. Click Edit.
H. On the Add/Edit Unit Inventory page, click Sale in the tabbed menu. Here you can configure the sale price in the same way that it's done under steps C, D, and E of these instructions.
As with any changes made to your web inventory, make sure to Publish Changes when you've completed your work.